Welcome to the Community
If you’ve found your way here from a forum post or stumbled across this project elsewhere, thank you for your interest. FBAC (Falcon BMS Arduino Connector) represents five years of dedication, learning, and problem-solving to create a working solution for the Falcon BMS community.
My Journey with Falcon BMS
I discovered BMS nearly a decade ago, and it immediately became my go-to flight simulator. I know it’s a game that will always have a place on my hard drive. FBAC is my way of giving back to this incredible community—it will always remain 100% free and open source.
The Power of Open Source
I’m a strong believer in open source software. Without the generous knowledge-sharing of far more experienced developers, this project wouldn’t exist. I owe a special debt of gratitude to lightningviper and his LightningTools project, which was instrumental in helping me understand how to read shared memory from BMS.
How FBAC Works
FBAC consists of two main components:
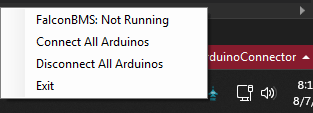
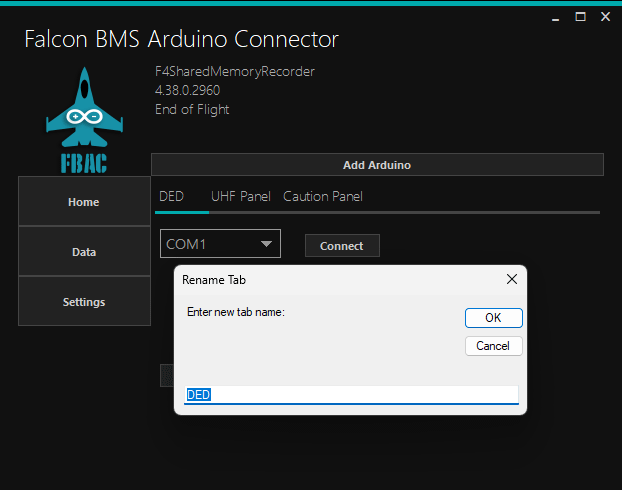
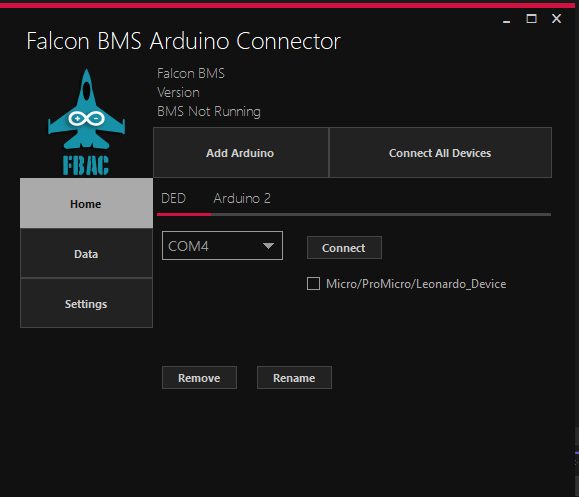
The PC Application (written in C# using Visual Studio Community Edition) reads shared memory from BMS—or even from LightningTools’ SharedMemRecorder, which has been invaluable for testing without running the full simulator.
The Arduino Library communicates with the PC app via serial connection, exchanging hex byte commands (like 0x01). Here’s the process:
- Arduino sends a command to the PC app
- PC app registers the command and gathers requested data
- Data is converted to a byte array and sent back to Arduino
- Arduino verifies the packet via checksum
- Valid data is assigned to predefined variables
The library handles all this complexity in the background, providing end users with simple, readable functions and variables. Multiple example sketches are included to demonstrate data retrieval and usage.
Evolution and Collaboration
Early in development, I noticed many BMS forum users reporting issues with DEDUINO DED displays. After examining the code on GitHub, I was able to implement key functions for proper DED formatting with correct symbols—though initially, my font wasn’t quite right.
Through collaboration with PSM, the DEDUINO creator, I obtained the correct font specifications and wiring configurations for his displays. I’ve had confirmation from two users that their fuel flow displays are now working correctly. PSM has since adopted my software for his own testing, which has been fantastic—his extensive panel testing has helped identify missing variables and improvements.
Your Feedback Matters
I need your help to make FBAC better. If you try the project and encounter issues, have suggestions, or need additional features, please reach out. Chances are, others share your concerns or would benefit from your ideas. If it’s technically feasible (meaning I can figure it out!), I’ll add it.
My goal is to make cockpit building accessible and user-friendly for everyone in the hobby.
Getting Started
You’ll always find the latest versions on GitHub. Download the PC application from the releases section to begin.page. The Library can be used in a couple of ways, my preferred method, is using platformio in vscode. I have a blank template you can start with here . Method two just if your already using platformio, you can add the lib_deps ‘bacon8tor/FalconBMSArduinoConnector @ ^0.3.9’ as I have registered the library with platformio. If you are using the Arduino IDE, you have to go to the releases page here , and upload the zip into the Arduino IDE as you would another library, or follow any youtube video of how to install a library.
Example Code
#include <FalconBMSArduinoConnector.h>

FalconBMSArduinoConnector bms; //Create Instance of the library you will use 'bms.' to access data and functions
#if defined(ESP32)  const int ledPin = 2;  // Most ESP32 boards use GPIO2 for the onboard LED
#else
  const int ledPin = LED_BUILTIN;  // Fallback for Arduino Uno, Mega, Nano etc.
#endif

void setup() {
  pinMode(ledPin, OUTPUT);
  digitalWrite(ledPin, LOW);
  Serial.begin(115200); //Create the Serial Communications

  bms.begin(Serial); //Pass this Serial Comm to BMS Instance

}

void loop() {
  bms.update(); //This verfies connection to the PC App or sends handshake till connection established
  if (bms.isConnected()) { //Checks whether BMS Shared Memory data is valid
    bms.checkAllLights(); //Function that sends all the commands to retrieve all lightbits
    digitalWrite(ledPin, bms.isMasterCaution() ? HIGH : LOW); // CHECKS WHETHER isMasterCaution true or false then sets high or low

  } else {
    digitalWrite(ledPin, LOW);
  }

}
This is one of the examples included in the library that checks and turns on the built-in led based on the Master Caution light.


